 English
 Español
  Português
  русский
  Français
  日本語
日本語  Deutsch
  tiếng Việt
  Italiano
  Nederlands
  ภาษาไทย
  Polski
  한국어
한국어  Svenska
  magyar
  Malay
Malay  বাংলা ভাষার
  Dansk
Dansk  Suomi
Suomi  हिन्दी
  Pilipino
  Türkçe
  Gaeilge
  العربية
  Indonesia
  Norsk
Norsk  تمل
تمل  český
český  ελληνικά
  український
  Javanese
  فارسی
فارسی  தமிழ்
தமிழ்  తెలుగు
  नेपाली
  Burmese
  български
  ລາວ
ລາວ  Latine
  Қазақша
  Euskal
  Azərbaycan
  Slovenský jazyk
  Македонски
  Lietuvos
  Eesti Keel
  Română
  Slovenski
  मराठी
मराठी  Srpski језик

Call Us
+86-512-62870424
Email Us
jane@soundbetter.cn

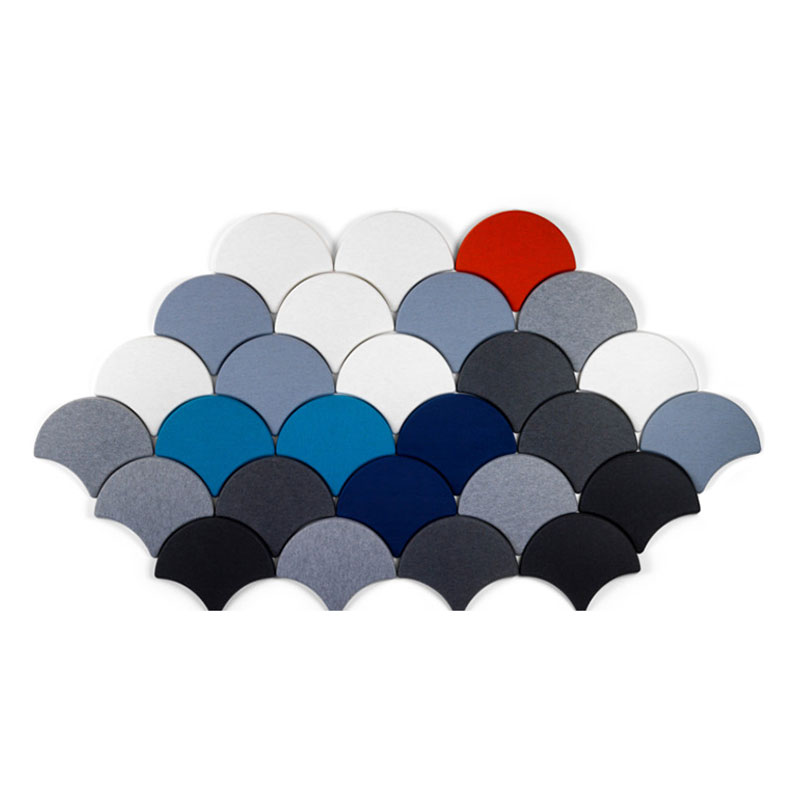
Installation of 3D Acoustic Wall
Installation of 3D Acoustic Wall
1. 3D Acoustic Wall
(1) The storage of 3D Acoustic Wall requires tightness and dryness. Before installation, be sure to open the packaging wooden box for more than 48 hours, so that the product can achieve the same natural environment characteristics as the installation site and be shaped by integrating into the indoor air.
(2) Check the model specifications, specifications, model specifications and total number of 3D Acoustic Wall before construction.
3. Installation site regulations
(1) The installation site must be dry and the low temperature is not less than 10 degrees Celsius;
(2) The change value of the larger ambient humidity after installation at the installation site should be controlled within the range of 40-60%;
(3) The installation site is less than the required temperature and humidity range 24 hours before installation.
3. Main keel
(1) The wall covered by the sound-absorbing board must be installed with the main keel in accordance with the design drawings or construction drawings, and the main keel must be corrected and solved. The surface of the main keel should be level, smooth, free of rust and deformation;
(2) The construction of the wall surface should be carried out in accordance with the architectural design specifications, and the arrangement specification of the main keel must be consistent with the arrangement of the 3D Acoustic Wall. The interval between wooden keel ceilings should be less than 500mm, and the interval between light steel keel partitions should not exceed 600mm. The installation of the main keel on the sound insulation board shall be vertical in length and direction; if the gap of the main keel must be filled with materials, the installation and solution shall be carried out according to the design concept, and the installation of the sound absorption board shall not be harmed.
4. Installation method
(1) Accurately measure the wall specifications: determine the installation position, specify the straight line and the bisector, and specify the cut-out and pre-embedded specifications of the cable jacks, water pipes and other objects.
(2) Cutting: Measure and cut a part of the sound-absorbing panel according to the specific specifications of the construction site (the opposite is prescribed with symmetry, especially when you need to pay attention to the specification of cutting a part of the sound-absorbing panel to ensure the symmetry on both sides) And wire frame (closing wire frame, outer corner wire frame, connecting wire frame), and cut holes for cable jacks, water pipes and other blocks.
5. Install 3D Acoustic Wall
(1) Install the main keel on the wall first
(2) Install the buckle on the sound-absorbing cotton on the back of the sound insulation board between the main keel and the sound-absorbing board.
6. Frequently Asked Questions
(1) The installation order of the 3D Acoustic Wall follows the standard from left to right and from bottom to top;
(2) When the sound-absorbing panel is installed horizontally, the assembly line is upward, and when it is installed perpendicularly, the assembly line is on the right;
(3) When several wood wool 3D Acoustic Wall are installed in the combination of the board and the board, a gap of 3mm should be left between the board head and the board head; Install it at the bottom and fasten it with a buckle, and then install the other sound-absorbing panels one by one.
7. The sound-absorbing board is fixed on the main keel
(1) Light steel keel partition: select special installation parts
(2) The 3D Acoustic Wall are installed horizontally, with the assembly line facing upwards and installed with installation spare parts, and each sound-absorbing panel is connected successively;
(3) The sound-absorbing board is installed vertically, the assembly line is on the right, and it is installed from left to right
(4) Wooden keel ceiling: install with nail bullets
(5) Operation steps: along the assembly line and the board slot, shoot nails to fix the sound-absorbing board on the main keel, and more than 2/3 of the nails must be placed in the wooden keel ceiling, and the nails should be arranged evenly, It is stipulated that there is a certain relative density, and the total number of coherent nails on each sound-absorbing panel and each wooden keel ceiling is more than 10.
Send Inquiry


X
We use cookies to offer you a better browsing experience, analyze site traffic and personalize content. By using this site, you agree to our use of cookies.
Privacy Policy
News
 NEW ARRIVAl: Acoustic Baffles & Clouds2023/02/03
PET Acoustic Panel is made from 100% polyester, along with needle punching processing. The production process is completely physical and eco-friendly, no waste water, emissions, waste, no adhesive, the porous nature of acoustic panel makes it sound absorption and thermal insulative. Soundbetter supp......
 Ten advantages of sound-absorbing panels.2021/09/09
Environmental protection: It produces anti-ultraviolet, non-radiation, antibacterial, no formaldehyde, ammonia, benzene and other ...